Publishing to npm
Publish your public-facing Fern TypeScript SDK to the npm registry. After following the steps on this page, you’ll have a versioned package published on npm.
fern folder on
your local machine. See Set up the fern folder for more
details.Set up your GitHub integration
- Create a new GitHub repository called
company-typescript(or something similar) for your SDK, if you haven’t done so already. - Install the Fern GitHub App: Select Configure, then scroll down to Repository Access. Select Only select repositories and in the dropdown select the repository for your SDK. Click Save.
Configure generators.yml
Run fern add <generator>
Navigate to your generators.yml on your local machine. Your generators.yml lives inside of your fern folder and contains all the configuration for your Fern generators.
Add a new generator to generators.yml:
Once the command completes, you’ll see a new group created in your generators.yml:
Configure output location
Next, change the output location in generators.yml from local-file-system (the default) to npm to indicate that Fern should publish your package directly to the npm registry:
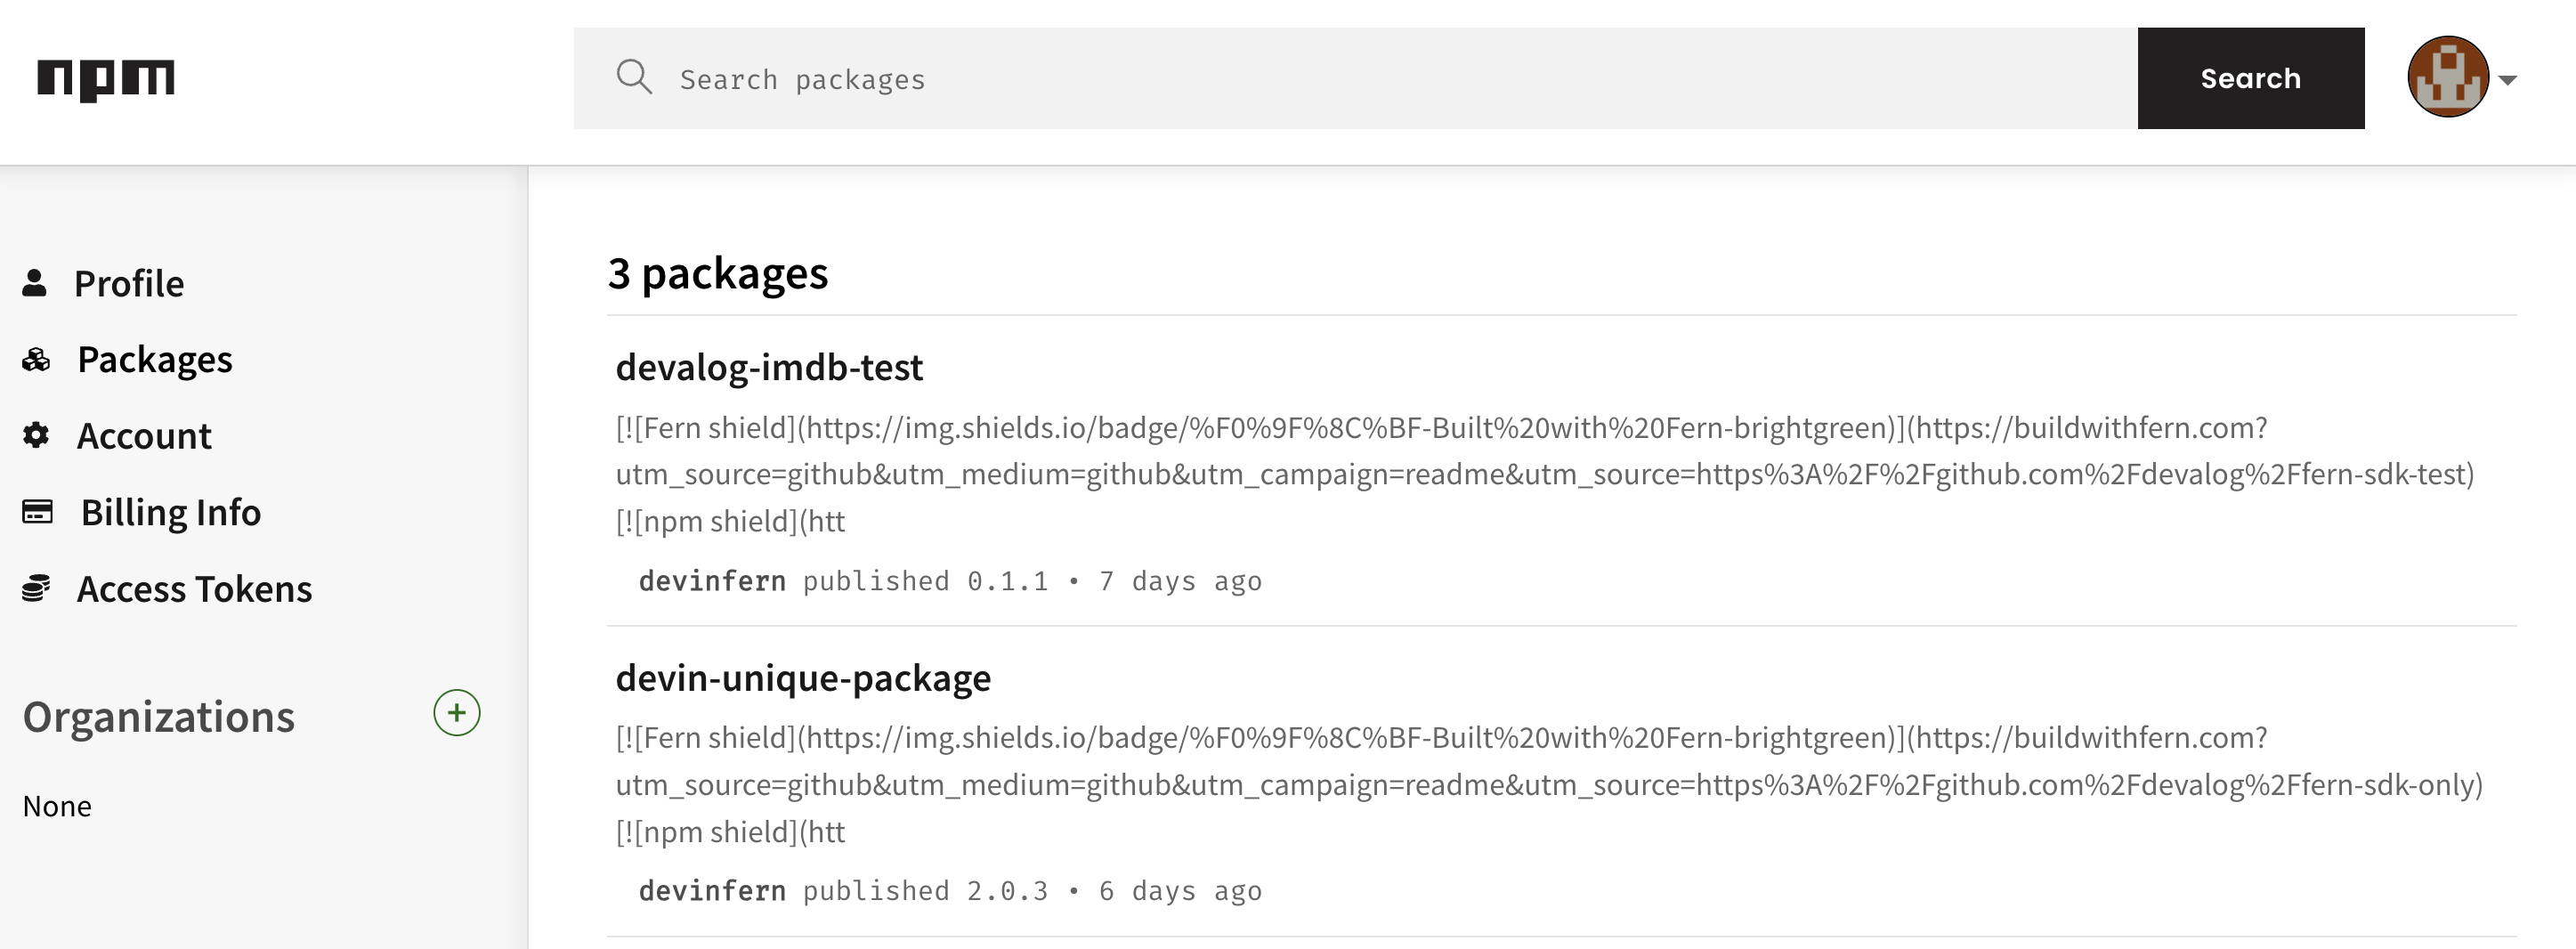
Add a unique package name
Your package name must be unique in the npm repository, otherwise publishing your SDK to npm will fail. Update your package name if you haven’t done so already:
Set up npm publishing authentication
Generate Token
Click on Generate New Token, then choose the appropriate token type.
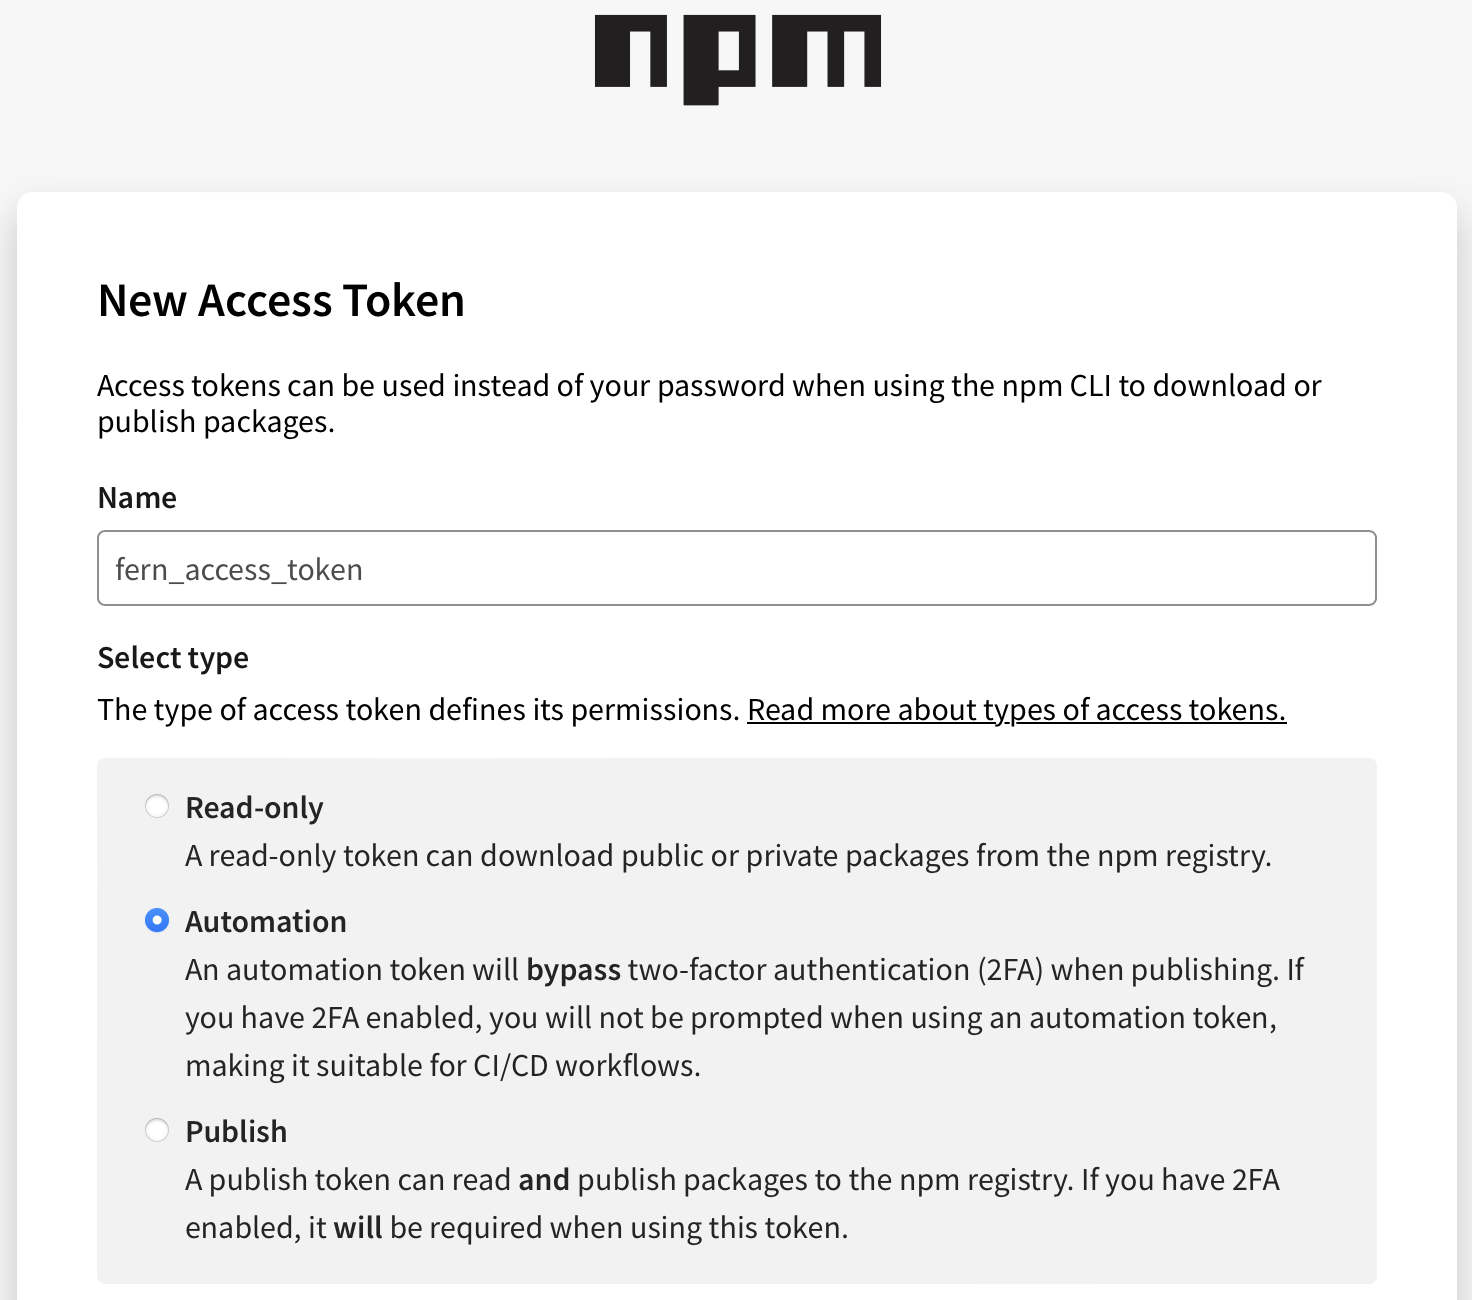
Option 1: Classic Token
- Select Classic Token
- Name your token and select Automation as the token type.
- Click Generate Token.
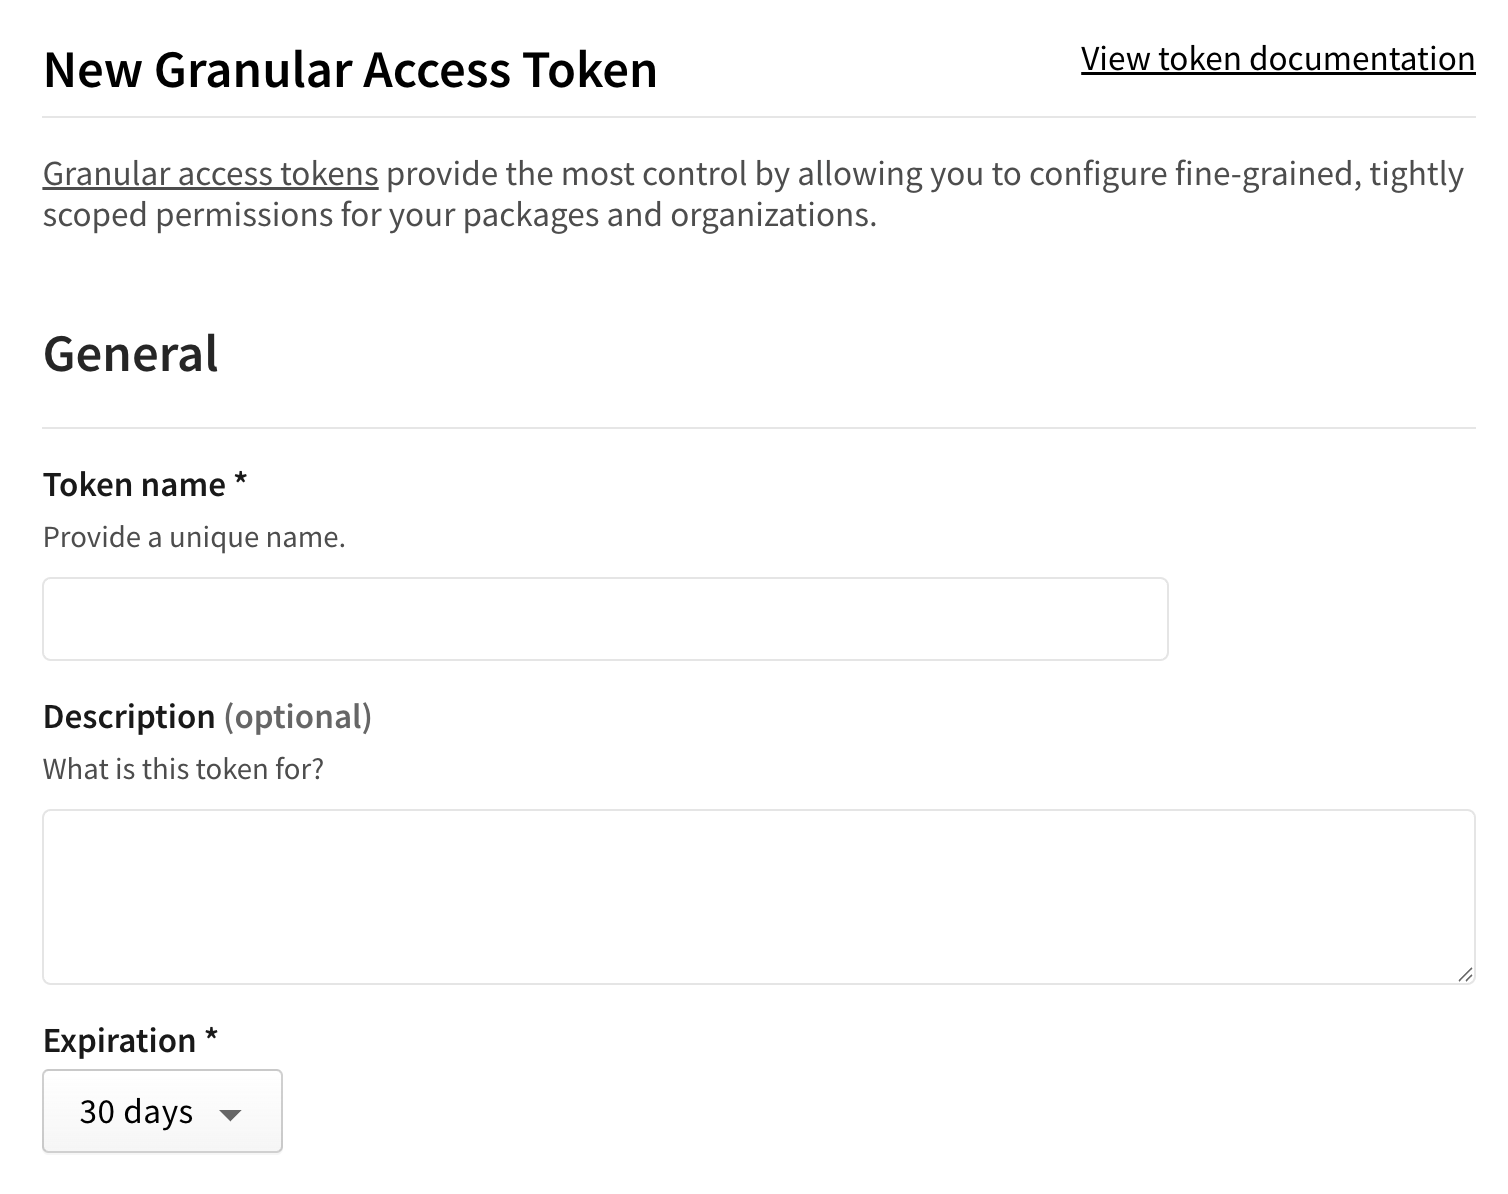
Option 2: Granular Access Token
- Select Granular Access Token.
- Name your token.
- Set an expiration.
- Configure your token’s access to packages and scopes.
- Configure your token’s access to organizations. In order to fill this out, you must have at least one organization already configured in npm. See Creating an organization for more information.
- Optionally fill out additional permissions according to your organization’s requirements.
- Click Generate Token.
Release your SDK to NPM
At this point, you’re ready to generate a release for your SDK.