Keep a Changelog
Record the notable changes to your project

Keep a record of how your project has changed by writing changelog entries. The changelog will automatically populate with the files contained within the changelog folder.
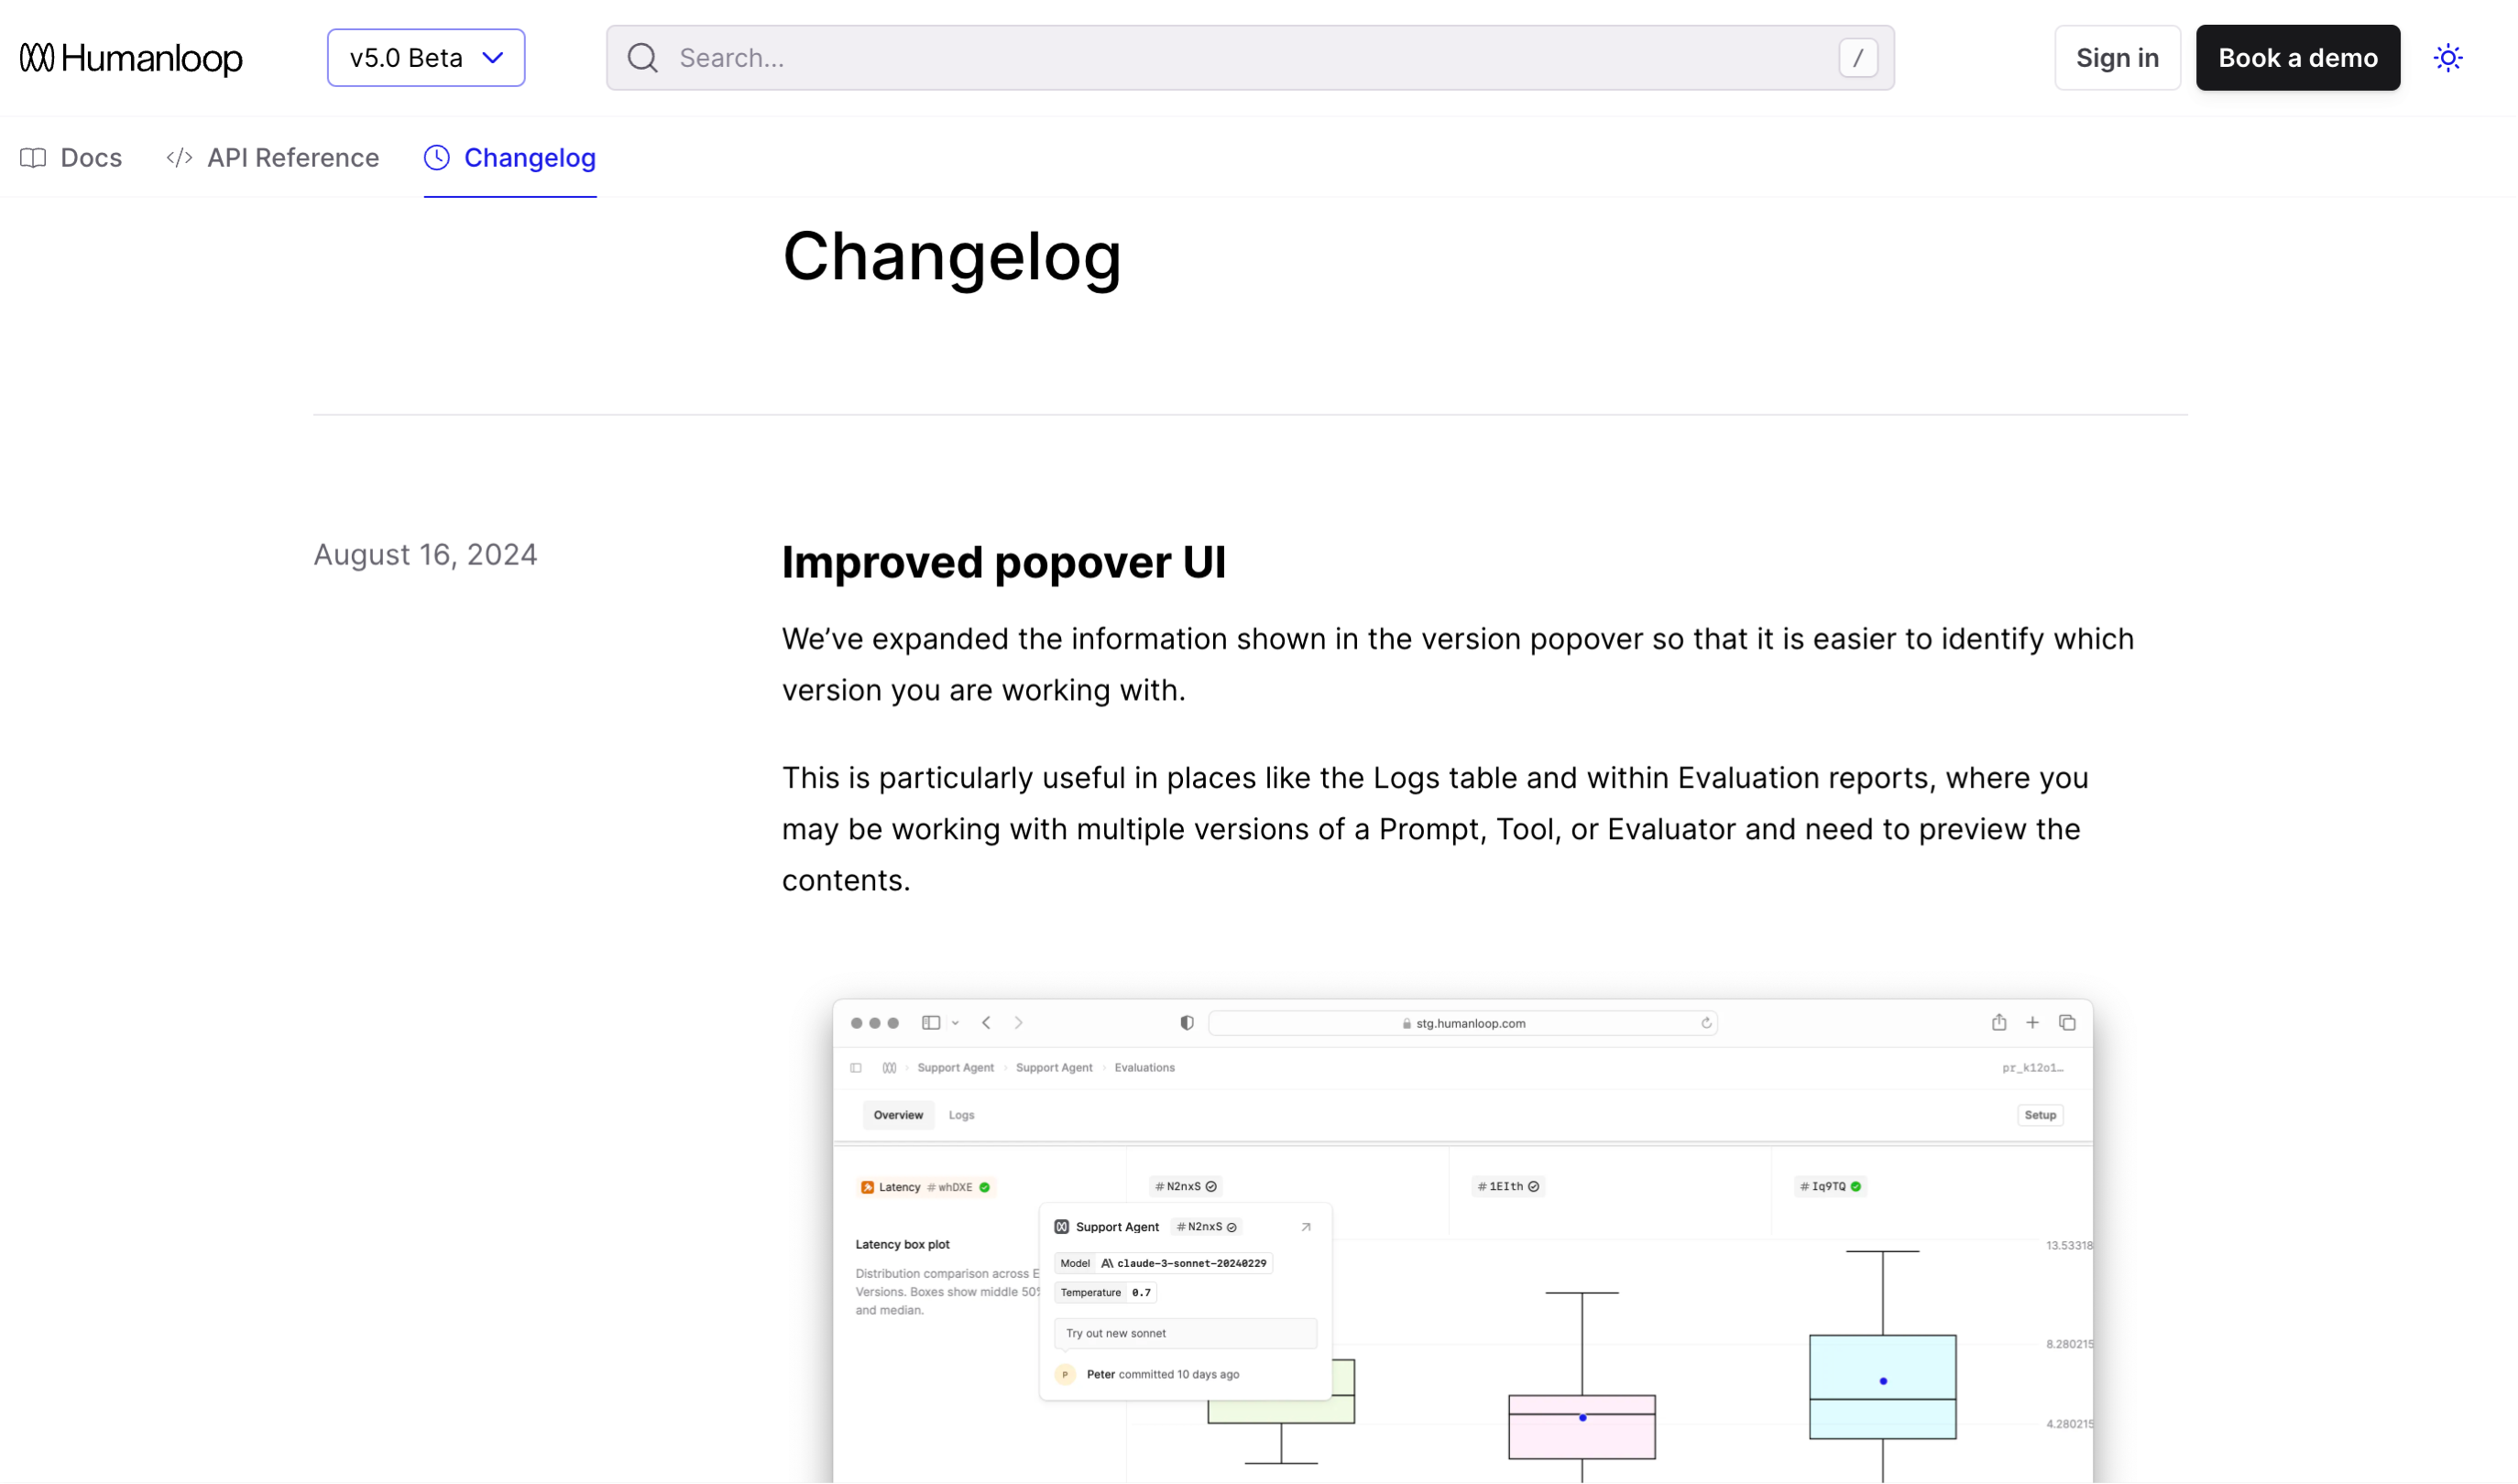
Configure a changelog for your project by creating a changelog folder.
Once you’ve configured your changelog, specify where it should appear within your docs in your docs.yml.
View an example in GitHub of the ElevenLabs docs.yml which powers their Changelog.
Configure a changelog for your project by creating a changelog folder.
Once you’ve configured your changelog, specify where it should appear within your navigation in your docs.yml.
Section-level changelogs cannot be nested within an api entry. See API-level changelogs to add an API-level entry.
You can include a high-level overview at the top of your changelog by adding an overview.mdx file to your changelog folder.
This is useful for summarizing major themes, linking to external release notes, or giving users context before diving into specific entries.
If an overview.mdx file is present, it will appear above the list of changelog entries automatically—no additional configuration needed.
Create a new changelog entry by writing a Markdown file. You can use .md or .mdx files. The benefit of using .mdx is that you can leverage the built-in component library within an entry.
Changelog entries are automatically sorted chronologically by the date specific in the file name. Specify the date of your entry using one of the following formats:
Each changelog entry has a unique URL you can direct users to. For example, https://elevenlabs.io/docs/changelog/2025/3/31
Changelogs automatically come with a RSS feed so users can subscribe to updates. Navigate to the RSS feed by appending .rss to the changelog path. For example, https://elevenlabs.io/docs/changelog.rss