发布到 NuGet
发布到 NuGet
将您的公开 Fern C#/.NET SDK 发布到 NuGet 注册表。按照本页面的步骤操作后, 您将在 NuGet 上发布一个版本化的包。
本页面假设您已有:
- 一个已初始化的
fern文件夹、一个用于 C#/.NET SDK 的 GitHub 仓库,以及在generators.yml中的一个 C#/.NET 生成器组。参见 生成 SDK (C#/.NET)。
配置 SDK 包设置
您需要更新 generators.yml 文件来配置包名称、输出位置和客户端名称,以便 NuGet 发布。您的 generators.yml 应该放在您的源代码仓库中(或本地机器上),而不是包含 C#/.NET SDK 代码的仓库中。
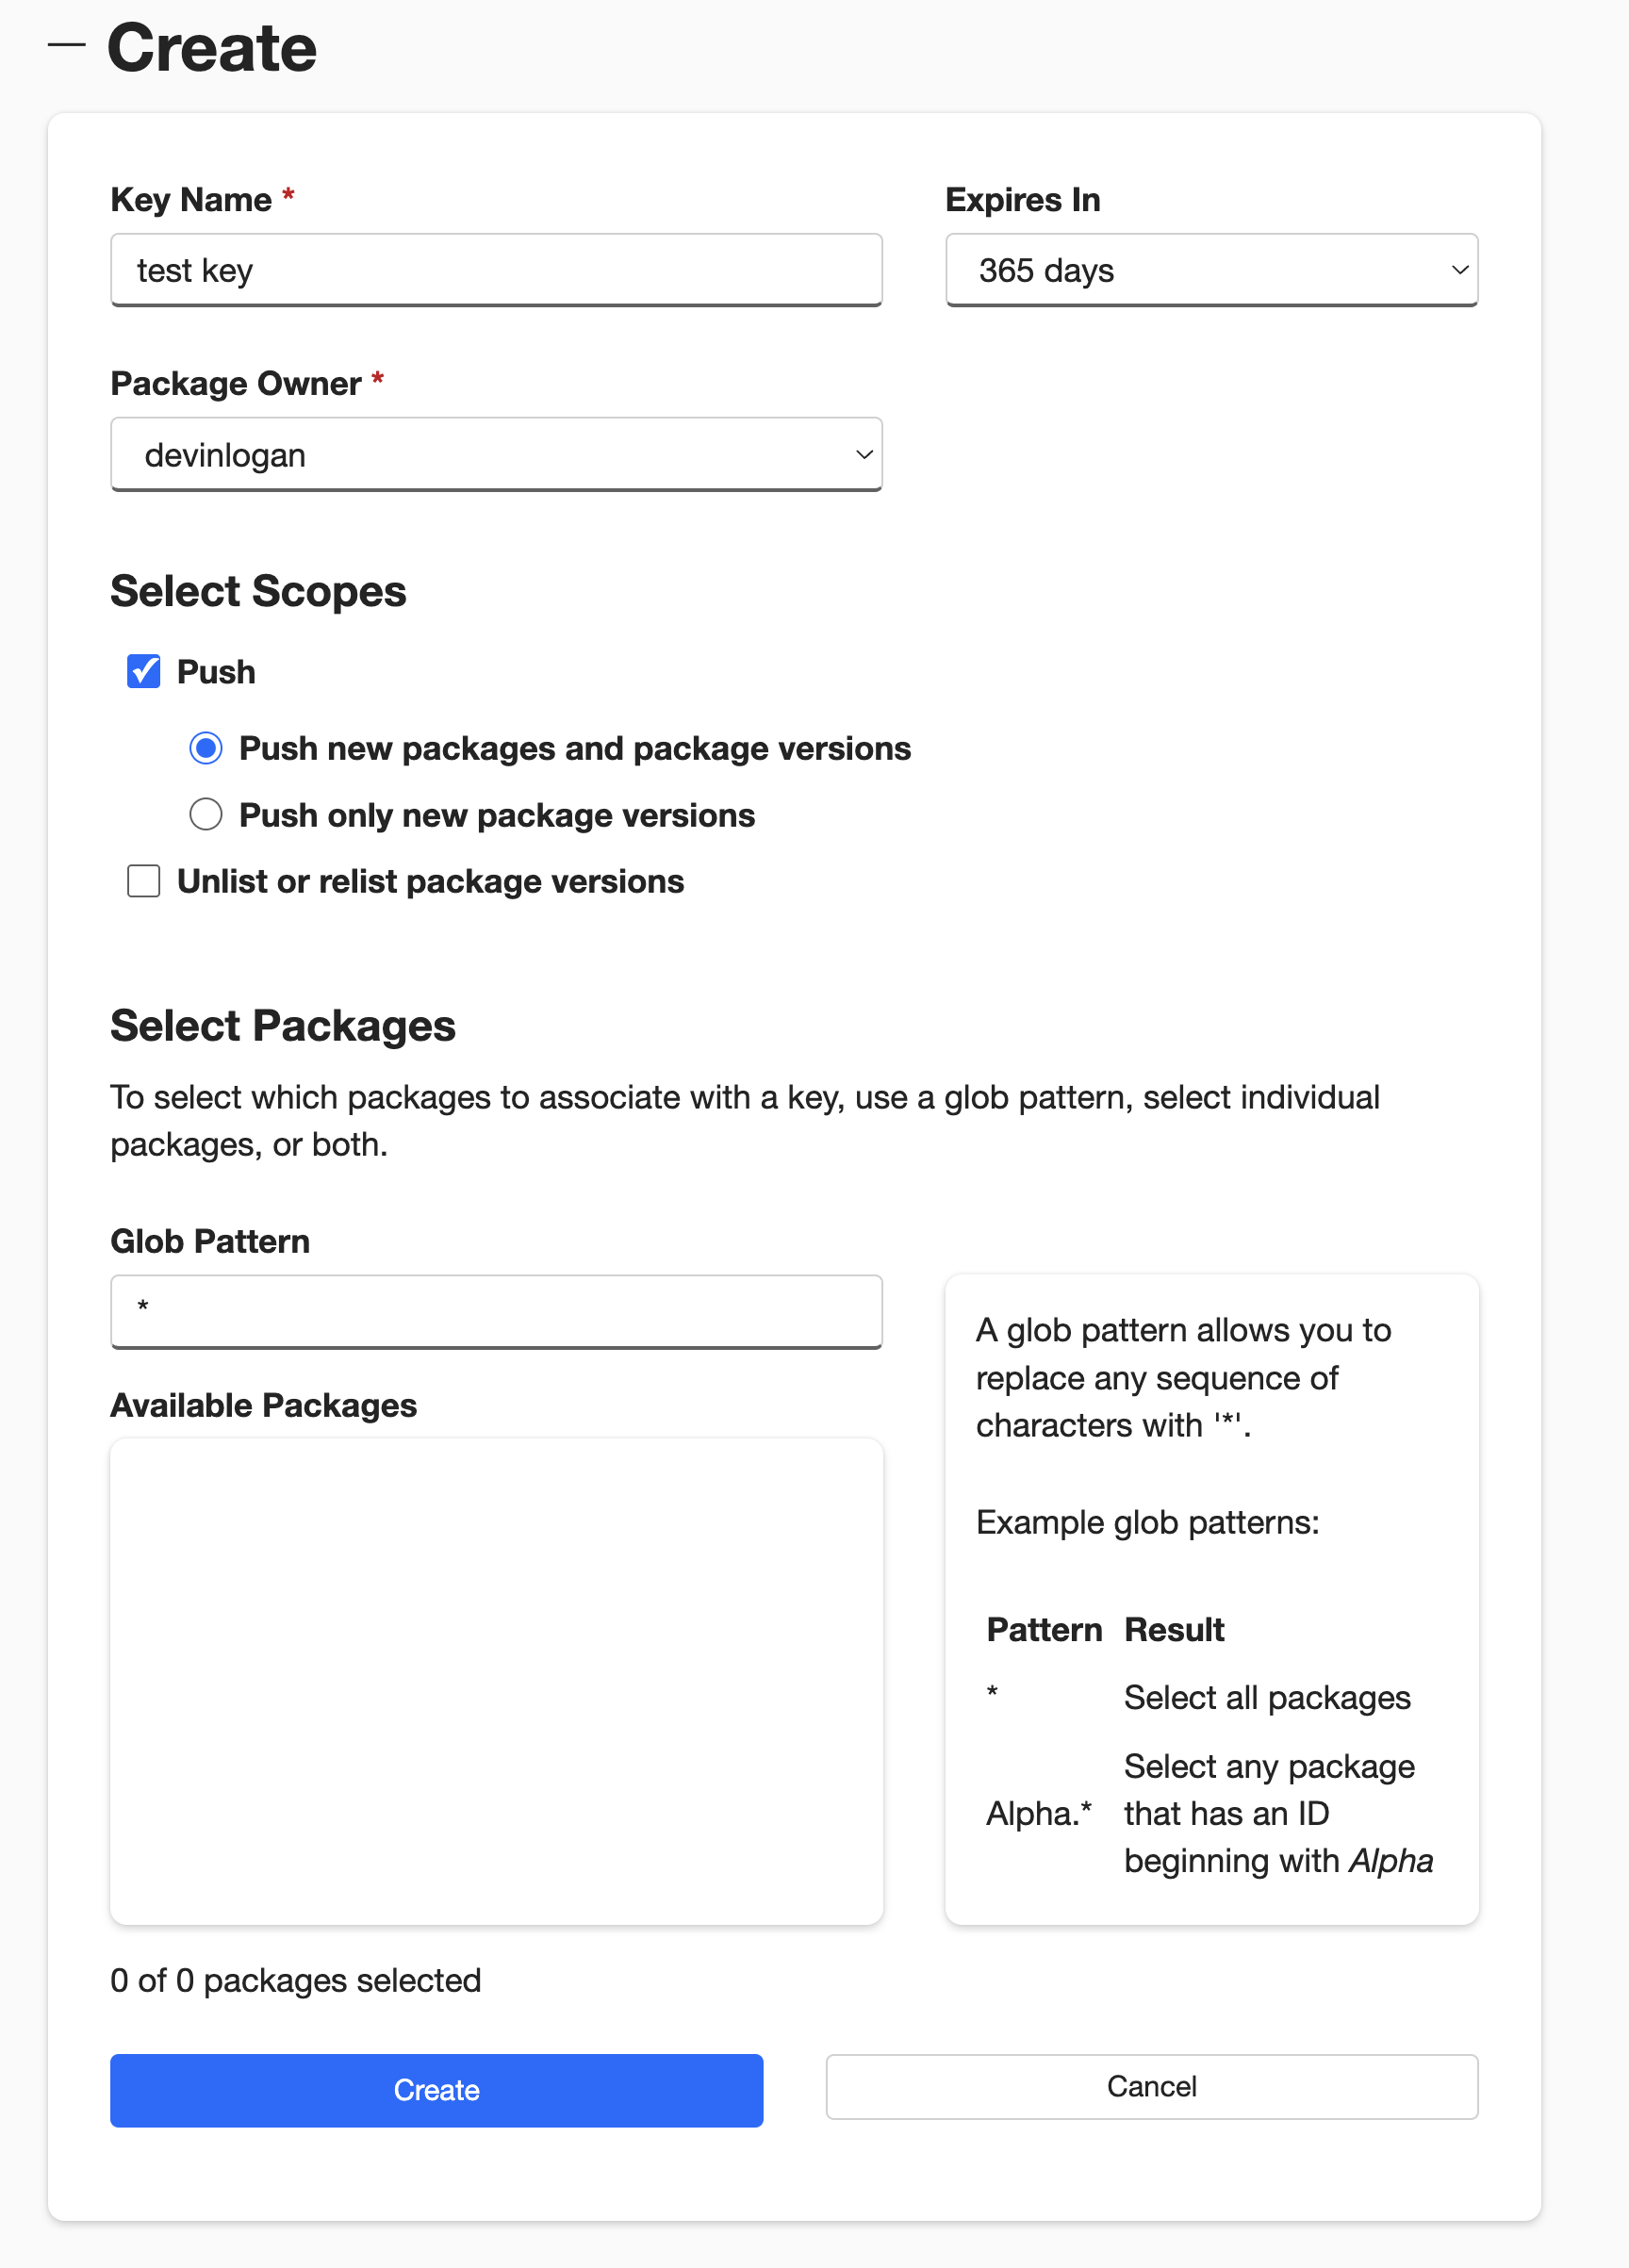
生成 NuGet API 密钥
配置 NuGet 发布
配置 NuGet 身份验证密钥
将 api-key: ${NUGET_API_KEY} 添加到 generators.yml,告诉 Fern 在发布到 NuGet 注册表时使用 NUGET_API_KEY 环境变量进行身份验证。
选择您的发布模式
Optionally set the mode to control how Fern handles SDK publishing:
mode: release(default): Fern generates code, commits to the default branch (or thebranchyou specify), and tags a release automaticallymode: pull-request(recommended): Fern generates code and creates a PR for you to review before releasemode: push: Fern generates code and pushes to a branch you specify for you to review before release
You can also configure other settings, like the reviewers or license. Refer to the full github (generators.yml) reference for more information.
发布您的 SDK
决定如何将您的 SDK 发布到 NuGet。您可以使用 GitHub 工作流进行自动化发布,或通过 CLI 直接发布。
通过 GitHub 工作流发布
通过 GitHub Actions 设置发布工作流,这样您就可以直接从源代码仓库触发新的 SDK 发布。
设置身份验证
在 GitHub 中打开您的源代码仓库。点击 Settings 标签。然后,在 Security 部分下,打开 Secrets and variables > Actions。
您也可以使用 URL https://github.com/<your-repo>/settings/secrets/actions。
为您的 NuGet API 密钥添加密钥
- 选择 New repository secret。
- 将您的密钥命名为
NUGET_API_KEY。 - 添加您在上面生成的相应 API 密钥。
- 点击 Add secret。

为您的 Fern Token 添加密钥
- 选择 New repository secret。
- 将您的密钥命名为
FERN_TOKEN。 - 添加您的 Fern token。如果您还没有,可以通过运行
fern token来生成一个。默认情况下,fern_token是为fern.config.json中列出的组织生成的。 - 点击 Add secret。
设置新的工作流
设置一个可以从 GitHub UI 手动触发的 CI 工作流。在您的仓库中,导航到 Actions。选择 New workflow,然后 Set up workflow yourself。添加类似于这样的工作流:
您也可以配置您的工作流为 on: [push] 执行。参见 Vapi 的 npm 发布 GitHub Action 作为示例。
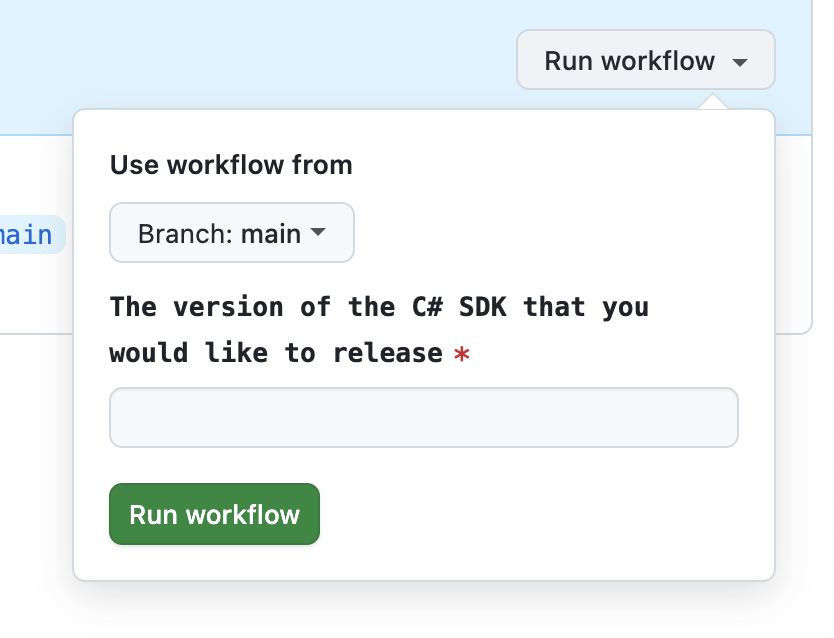
重新生成并发布您的 SDK
导航到 Actions 标签,选择您刚创建的工作流,指定一个版本号,然后点击 Run workflow。这将重新生成您的 SDK。
The rest of the release process depends on your chosen mode:
-
Release mode (default): If you didn’t specify a
modeor setmode: release, no further action is required. Fern automatically tags the new release with your specified version number and initiates the publishing workflow in your SDK repository. -
Pull request or push mode: If you set
mode: pull-requestormode: push, Fern creates a pull request or pushes to a branch respectively. Review and merge the PR (pull-request) or branch (push), then tag a new release to initiate the publishing workflow in your SDK repository.
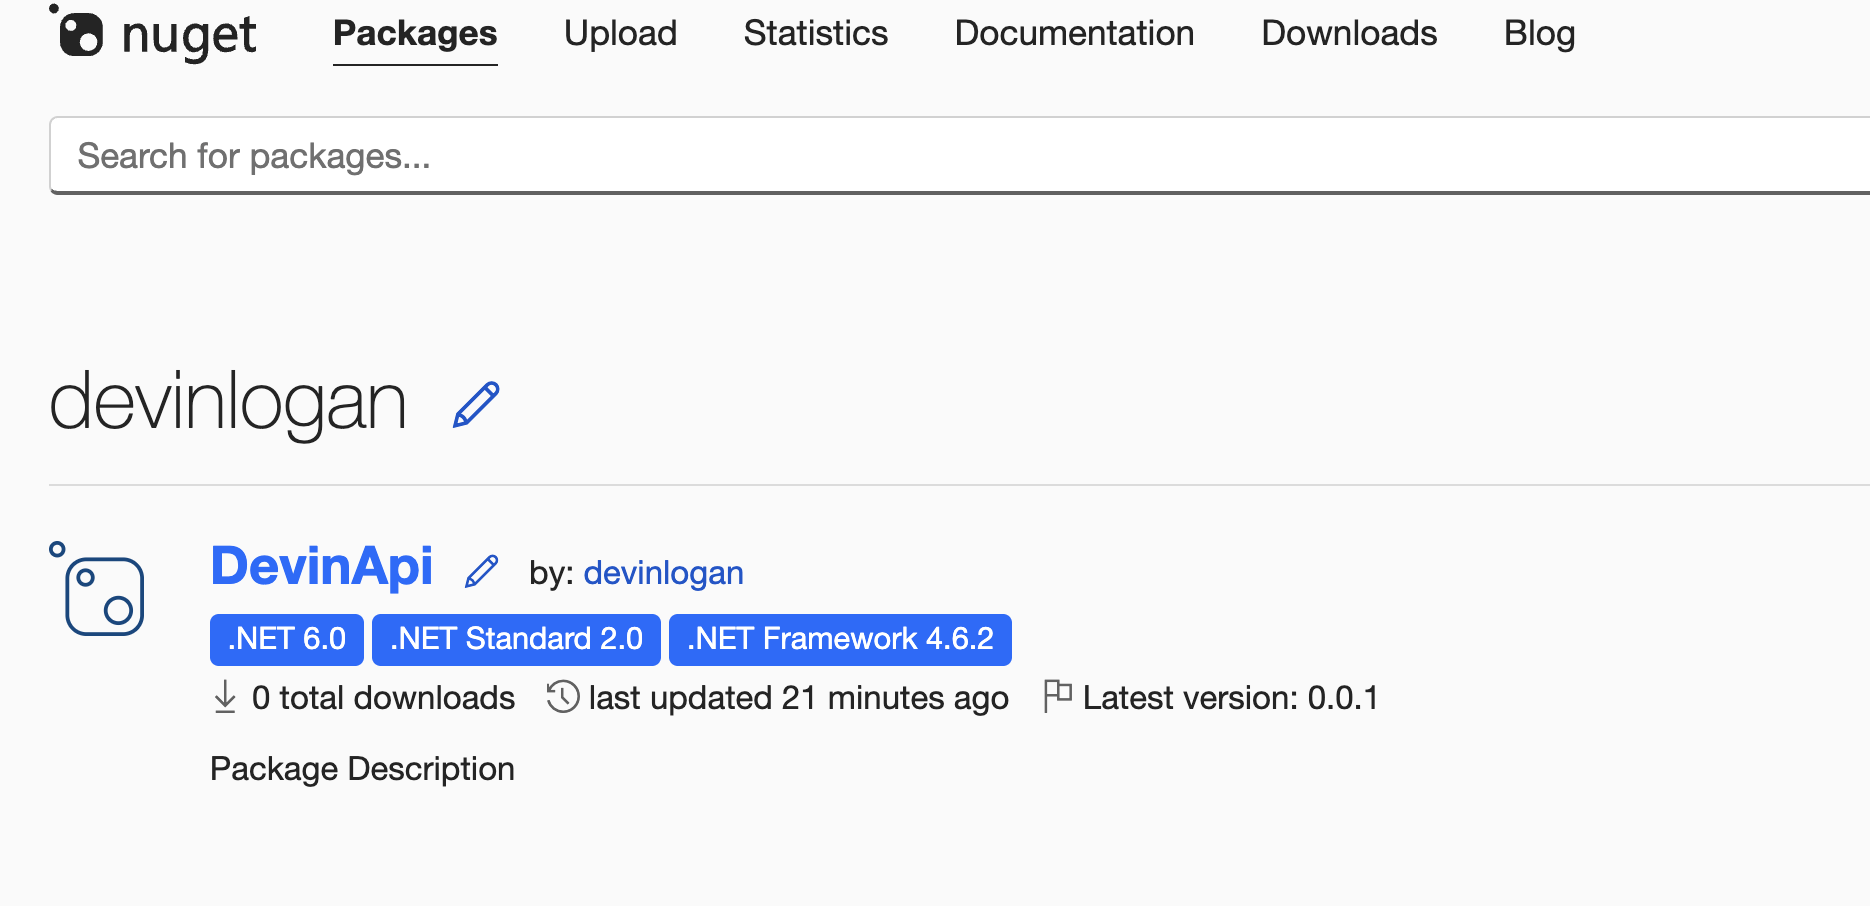
工作流完成后,您可以通过登录 NuGet 并导航到 Manage Packages 来查看您的新发布。
通过 CLI 和环境变量发布
重新生成并发布您的 SDK
重新生成您的 SDK,指定版本:
The rest of the release process depends on your chosen mode:
-
Release mode (default): If you didn’t specify a
modeor setmode: release, no further action is required. Fern automatically tags the new release with your specified version number and initiates the publishing workflow in your SDK repository. -
Pull request or push mode: If you set
mode: pull-requestormode: push, Fern creates a pull request or pushes to a branch respectively. Review and merge the PR (pull-request) or branch (push), then tag a new release to initiate the publishing workflow in your SDK repository.
工作流完成后,您可以通过登录 NuGet 并导航到 Manage Packages 来查看您的新发布。