Publishing to PyPI
Publish your public-facing Fern Python SDK to the PyPI registry. After following the steps on this page, you’ll have a versioned package published on PyPI.
This page assumes that you have:
- An initialized
fernfolder, a GitHub repository for your Python SDK, and a Python generator group ingenerators.yml. See Generating an SDK (Python).
Configure SDK package settings
Update your generators.yml file to configure the package name, output location, and client naming for PyPI publishing. Your generators.yml should live in your source repository (or on your local machine), not the repository that contains your Python SDK code.
Configure output location
In the group for your Python SDK, change the output location in from local-file-system (the default) to pypi to indicate that Fern should publish your package directly to the PyPi registry:
Add a unique package name
Your package name must be unique in the PyPI repository, otherwise publishing your SDK to PyPI will fail.
Configure client-class-name
The client-class-name option controls the name of the generated client. This is the name customers use to import your SDK (import { your-client-name } from 'your-package-name';).
Add PyPI metadata (optional)
You can add publishing metadata to your PyPI package to improve discoverability and provide additional information to users. This metadata appears on your package’s PyPI page and includes keywords for PyPI search and discovery, documentation-link for your package documentation, and homepage-link for your project homepage.
You can additionally add general metadata for the SDK (description, contact email, author, license, etc.) at the individual SDK level or globally for all SDKs.
Configure GitHub publishing
Fern can automatically publish your SDK to PyPI via GitHub Actions. Configure your GitHub repository and publishing mode:
Optionally set the mode to control how Fern handles SDK publishing:
mode: release(default): Fern generates code, commits to the default branch (or thebranchyou specify), and tags a release automaticallymode: pull-request(recommended): Fern generates code and creates a PR for you to review before releasemode: push: Fern generates code and pushes to a branch you specify for you to review before release
You can also configure other settings, like the reviewers or license. Refer to the full github (generators.yml) reference for more information.
Configure authentication
Choose how you want to authenticate with PyPI when publishing. OpenID Connect (OIDC) authentication is recommended because it removes the need to manage long-lived API tokens.
OIDC authentication (Recommended)
OIDC-based publishing (also known as “trusted publishing”) is the most secure way to publish. With OIDC, you don’t need to manage authentication tokens - PyPI trusts your GitHub repository to publish directly.
Prerequisites
- Fern Python SDK generator version
4.38.1or later - Fern CLI version
5.46.0or later (only required for local generation with--local)
Generate your SDK
Generate your SDK to create the GitHub Actions workflow with OIDC configuration:
This creates a .github/workflows/ci.yml file that’s configured to use OIDC for PyPI publishing. Alternatively, you can push your generators.yml changes and let the Fern GitHub Action generate the workflow for you.
Authorize your repository on PyPI
Configure trusted publishing on PyPI to allow your GitHub repository to publish:
- Navigate to your project on PyPI and open Manage > Publishing
- Under Add a new publisher, select GitHub
- Fill in:
- Owner: Your GitHub username or organization
- Repository name: Your Python SDK repository name (e.g.,
your-repository) - Workflow name:
ci.yml - Environment name:
pypi
For more details, see PyPI’s trusted publishers documentation.
Troubleshooting
“invalid-publisher” or authentication errors
Common causes:
- Workflow filename doesn’t match exactly (must be
ci.yml) - Environment name on PyPI doesn’t match the
pypienvironment in the generated workflow - Trusted publisher configuration on PyPI doesn’t match your repository settings
Solution: Double-check your trusted publisher configuration on PyPI matches your repository name, workflow filename, and environment name exactly.
Token-based authentication
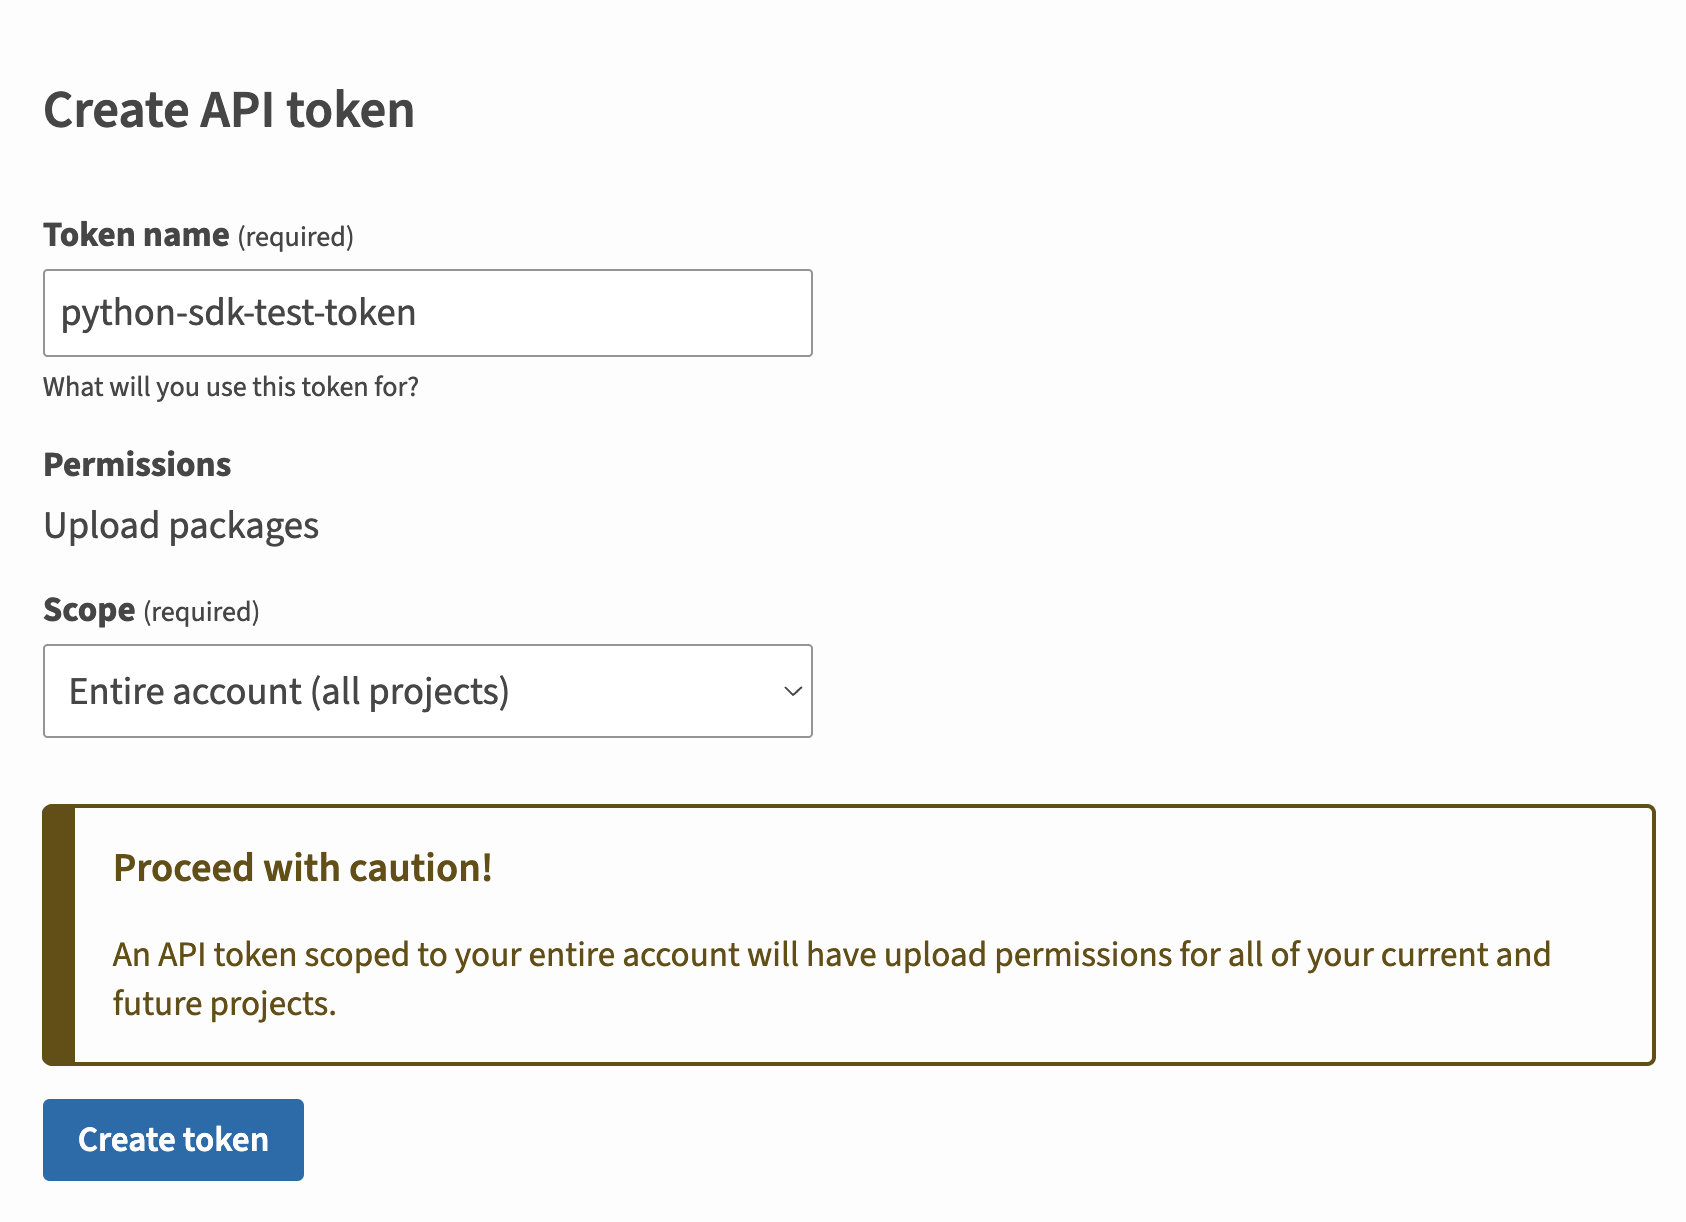
Generate a PyPI token
- Log into PyPI or create a new account
- Click on your profile picture and select Account settings
- Scroll down to API tokens and click Add API token
- Name your token and set the scope to the relevant projects
- Click Create token
Publish your SDK
Your SDK will automatically be published to PyPI when you create a GitHub release with a version tag:
- Create a GitHub release with a version tag (for example,
v1.0.0) - The CI workflow will run automatically and publish to PyPI
- View your package on PyPI to confirm the version
Alternative: Manual workflow dispatch
Set up a release workflow via GitHub Actions so you can trigger new SDK releases directly from your source repository.
If you prefer to trigger publishes manually from your source repository, set up a release workflow via GitHub Actions.
Add secret for your Fern API key
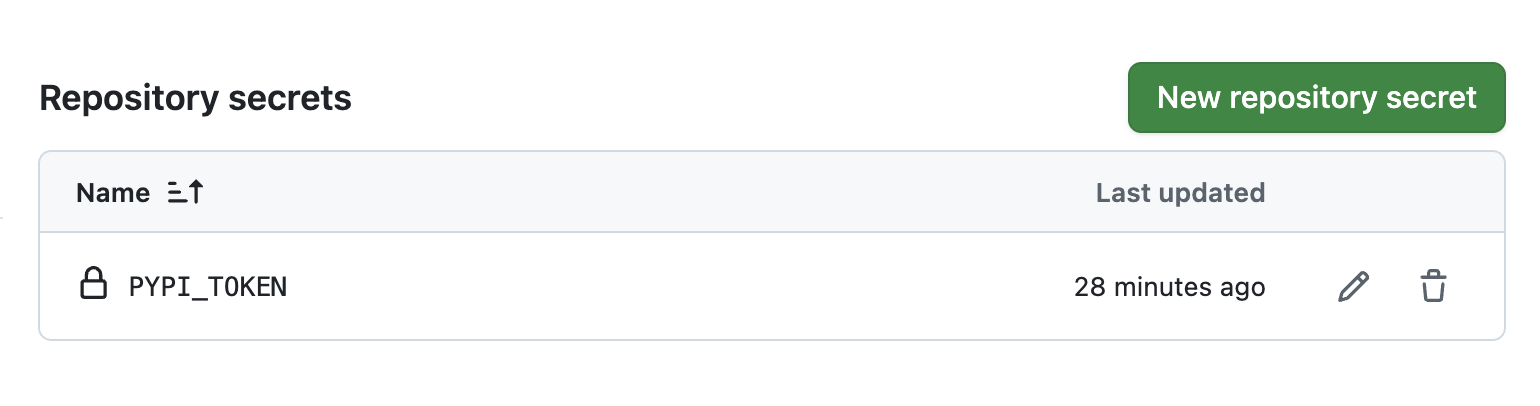
- Open your Fern repository on GitHub and go to Settings > Secrets and variables > Actions
- Select New repository secret
- Name your secret
FERN_TOKEN - Add your Fern API key. If you don’t already have one, generate one by
running
fern token. By default, the API key is generated for the organization listed infern.config.json. - Click Add secret
If you use token-based authentication, also add a PYPI_TOKEN secret with your PyPI token.
Set up a new workflow
Set up a CI workflow that you can manually trigger from the GitHub UI. In your repository, navigate to Actions. Select New workflow, then Set up workflow yourself. Add a workflow that’s similar to this:
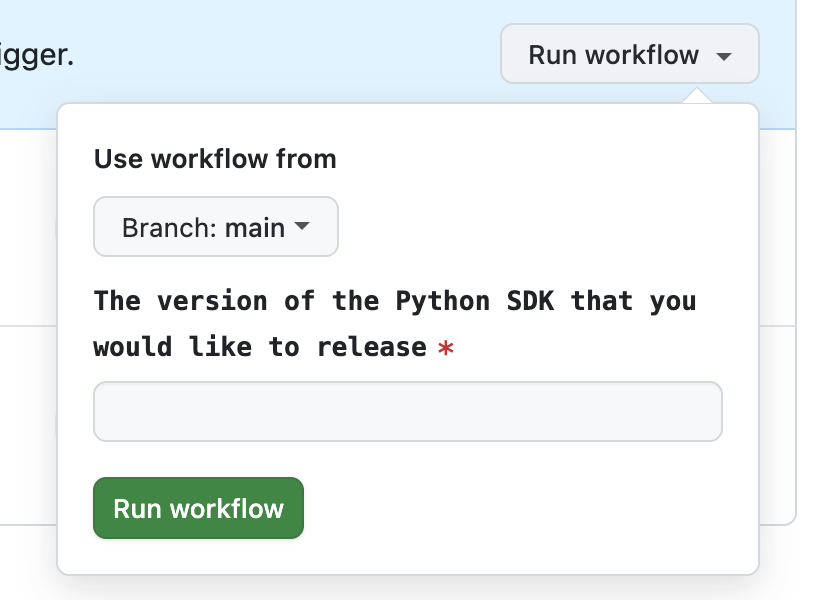
Regenerate and release your SDK
Navigate to the Actions tab, select the workflow you just created, specify a version number, and click Run workflow. This regenerates your SDK.
The rest of the release process depends on your chosen mode:
-
Release mode (default): If you didn’t specify a
modeor setmode: release, no further action is required. Fern automatically tags the new release with your specified version number and initiates the publishing workflow in your SDK repository. -
Pull request or push mode: If you set
mode: pull-requestormode: push, Fern creates a pull request or pushes to a branch respectively. Review and merge the PR (pull-request) or branch (push), then tag a new release to initiate the publishing workflow in your SDK repository.
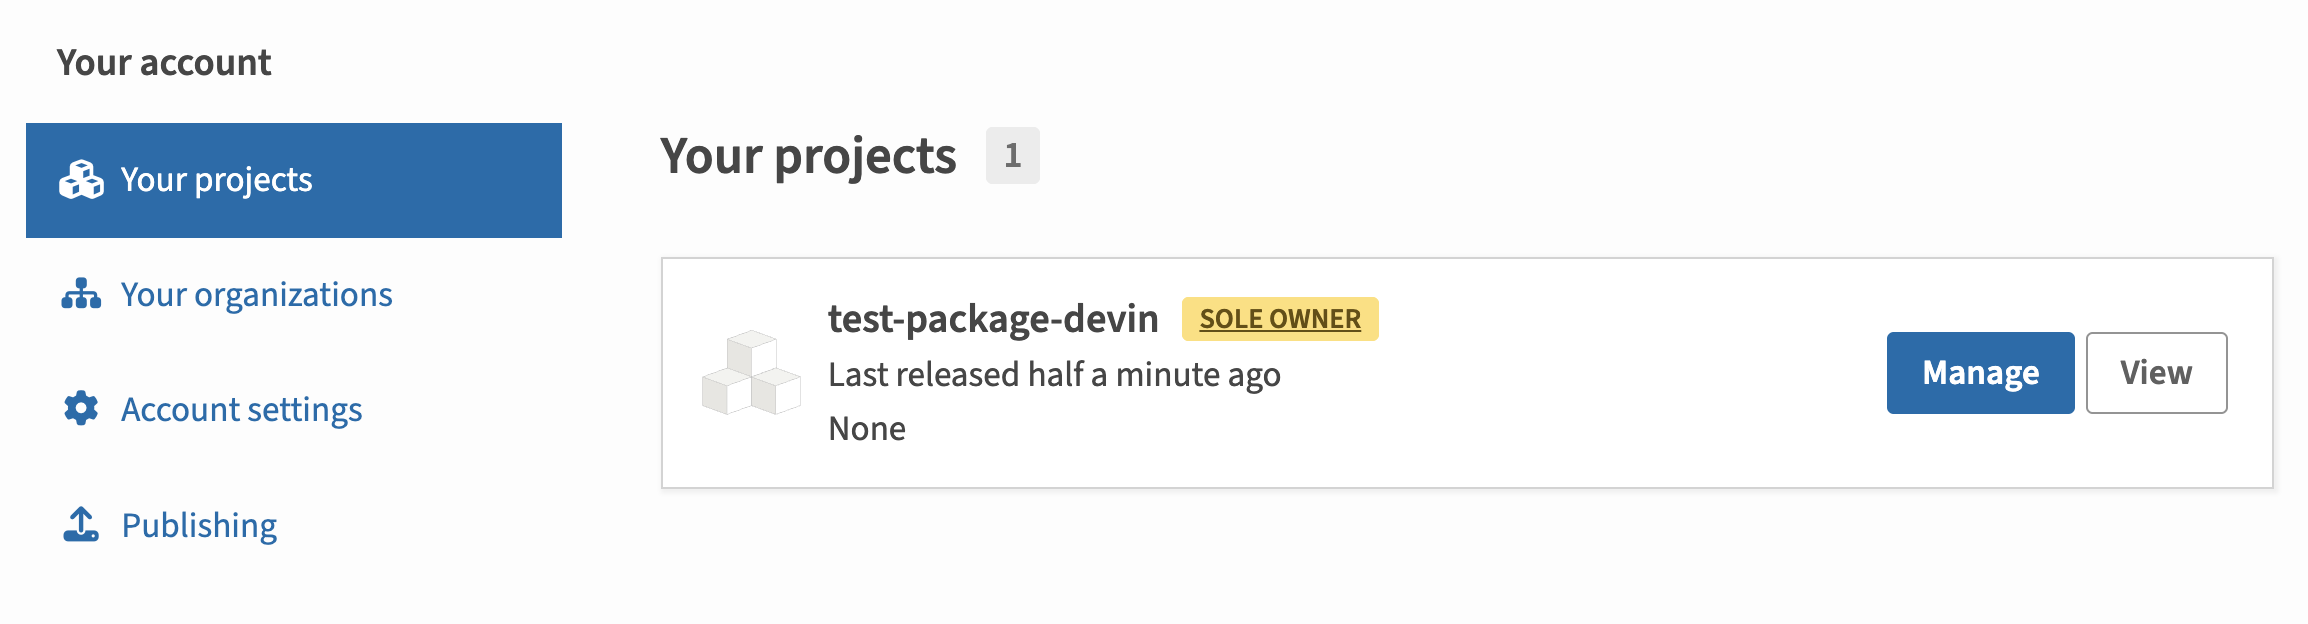
Once the workflow completes, you can view your new release by logging into PyPi and navigating to Your projects.
Alternative: Release via CLI and environment variables
Set PyPI environment variable
If you use token-based authentication, set the PYPI_TOKEN environment variable on your local machine:
Regenerate and release your SDK
Regenerate your SDK, specifying the version:
The rest of the release process depends on your chosen mode:
-
Release mode (default): If you didn’t specify a
modeor setmode: release, no further action is required. Fern automatically tags the new release with your specified version number and initiates the publishing workflow in your SDK repository. -
Pull request or push mode: If you set
mode: pull-requestormode: push, Fern creates a pull request or pushes to a branch respectively. Review and merge the PR (pull-request) or branch (push), then tag a new release to initiate the publishing workflow in your SDK repository.
Once the workflow completes, you can view your new release by logging into PyPI and navigating to Your projects.